It’s nearly Christmas again! I’ve started to learn a new craft, an ancient one, and started to mix it up with modern technology.
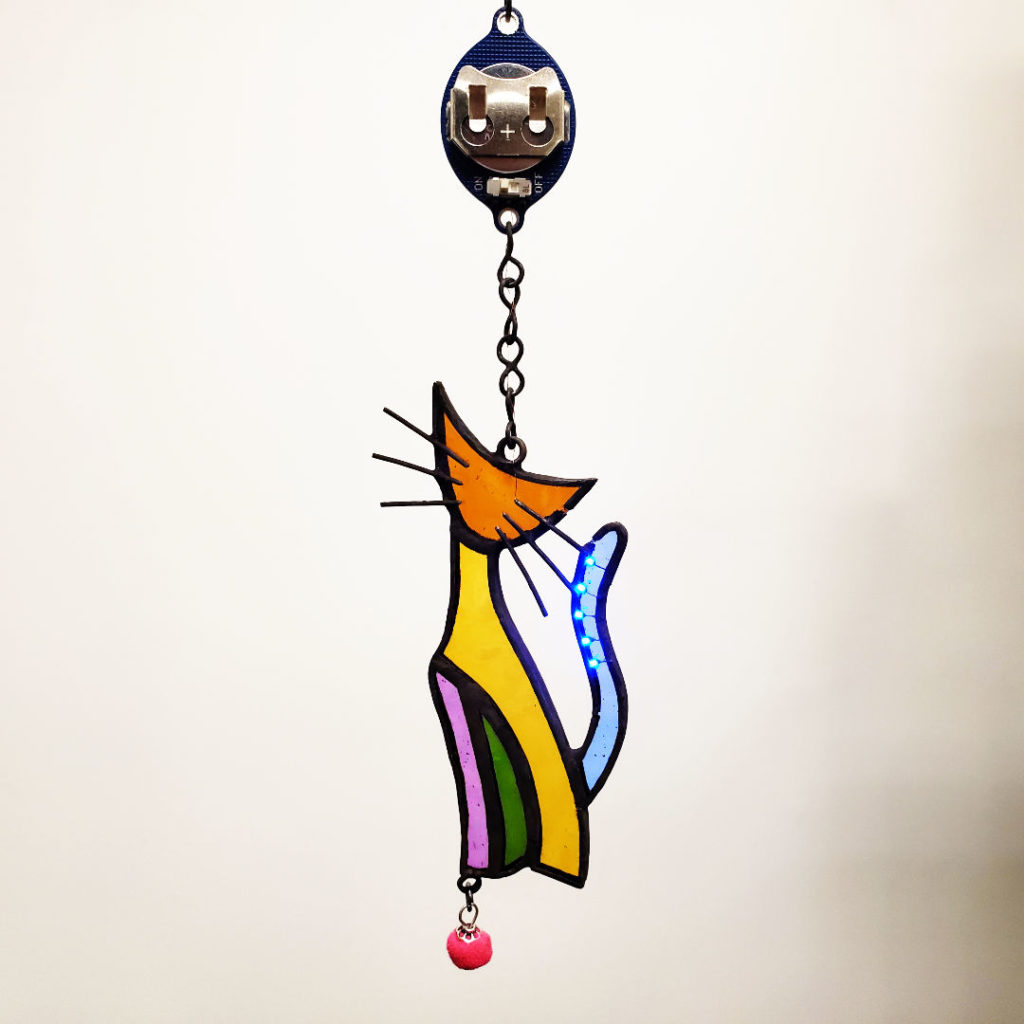
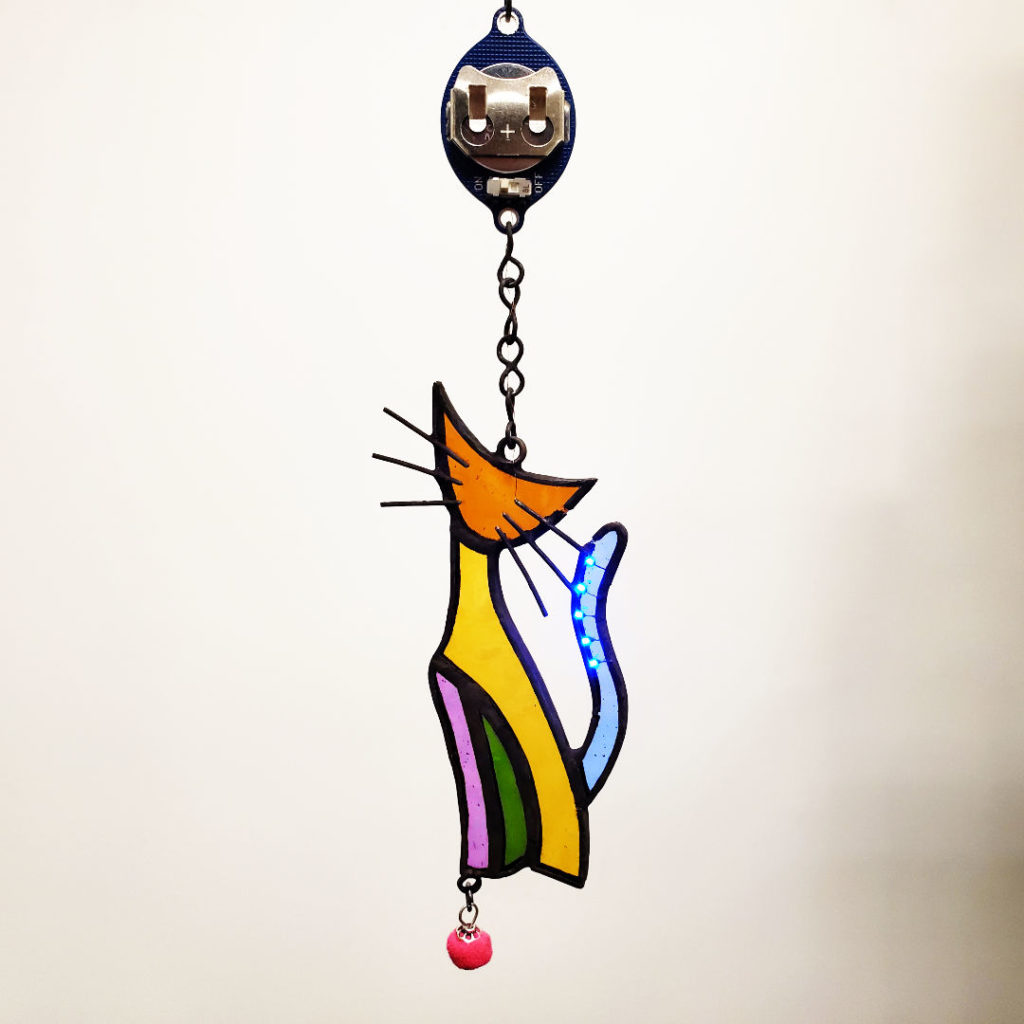
Behold, stained glass suncatcher with embedded LEDs
This is essentially black magic to most glass artists and a huge “duh” moment to all the makers and engineers. I’ve been asked to teach how this is done…
Just a teaser preview of my second project
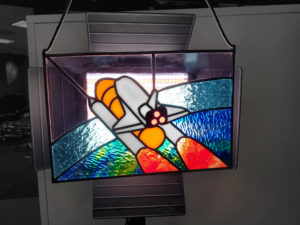
Before I start talking about the geeky part, I’d like to summarize the basic steps in making a basic piece of stained glass artwork like this:
- Cut glass pieces with a glass cutter and specialized pliers, the shape can be rough for now.
- Use a glass grinder to grind each piece down to the exact shape they should be, and then check if they fit. Grind some more if you have to. Remember to leave a gap for the next step.
- Apply copper foil tape to all the edges.
- Using a soldering iron, solder all the glass together by the now-copper edges.
- Clean it. Optionally, apply patina to the solder to give it that dark aged look, and clean again.
- Those chain rings I made, they don’t take on patina very well unless you coat them in solder first. If you don’t, the tin will look black but flake off extremely easily. The soldering process makes a stronger bond with the copper inside the wire.
- The patina will be insulating, to get the circuit working, I rubbed each chain link against each other to get them conductive again.
- If you apply patina, you can still solder under it, it’s just difficult and require flux. For this job I used rosin flux for electronics instead of glass flux.
- It’s a good idea to do at least two passes with the soldering iron, any missed areas won’t react with the patina and will look like copper instead of black. Solder could be covering but not really soldered to some patches of copper, so it’s a good idea to just flux everything up a second time and do a second pass.
