My Car Was ‘Stolen’ by Myself, What Should I!?
Yea so I had no choice but to start my car with a screwdriver (continue reading) Just kidding. This was inspired by these similar projects
3D Printed Micro Match Connector Crimp Tool
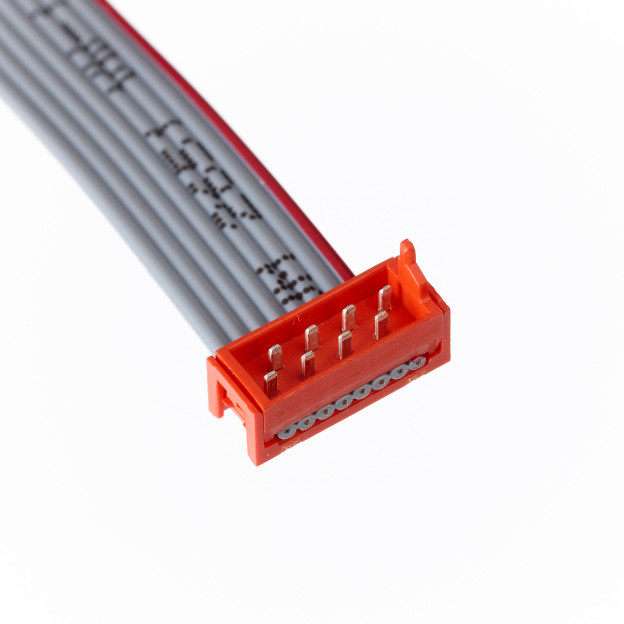
I have a project that involves Micro Match connectors. They are similar to IDC connectors, but with a lower profile and a zig-zag pattern. I had to crimp one connector onto a ribbon cable, my first attempt using a vice failed miserably, instead of the conductors being forced into the teeth properly, the forces instead crushed the connector. Unlike a IDC connector, which is mostly solid plastic, the Micro Match connectors are pretty hollow, thus weaker. Continue reading to see how I solved this problem. What I really needed was a tool like this, which costs $1200 $1200 is out of the question, but a plain IDC crimp tool cost around $10 So I decided to 3D print a little aid to convert a cheap IDC crimp tool into a Micro Match crimp tool. As you see, it needs to seat a female connector first to support the male end, this is why the male end doesn’t get crushed. The model is hosted on Onshape here and shared with the public. It is currently in a 3×2 configuration, if you want a different pin configuration, simply make a copy of the model into your own account so you can make modifications to it. Trust me, it’s easy, the holes are created as patterns, so all you need to do is adjust the pattern.
3D Modeling Software Recommendations for Hobby Mechanical Design
I will talk about 3D modelling software that I have tried, and point to this page whenever somebody asks for this info. Comments are extremely welcome. Expensive but Good SolidWorks is almost an industry standard. I am personally pro-efficient with SolidWorks already even without formal training, which means it has a good intuitive user interface and great community support. It is very rich in features as well. Too bad it costs several thousand dollars. (if you are actually a student, learning SolidWorks is highly recommended, try to obtain an education version) Autodesk Inventor is almost on par with SolidWorks with very similar features. I’ve tried it briefly. I simply do not have a reason to switch to Inventor from SolidWorks. SolidEdge was used at one of the places I worked for. It’s not bad but definitely doesn’t shine above the other contenders in this classification. Free and Good By “good”, I mean it meets a few certain criteria: dimensions can be typed, can export to a format like DXF or STEP or IGES, and good general software quality. I try to share STEP files or IGES files whenever I can, so if you need to open my files, try one of these software. Autodesk 123D meets these criteria. The disappointment is that it is not “feature-based”, so the workflow might take a bit longer than using SolidWorks. It’s good to pre-plan your model really well before bring it to the 3rd dimension. (think about how…
PS4 Playing NES Cartridges
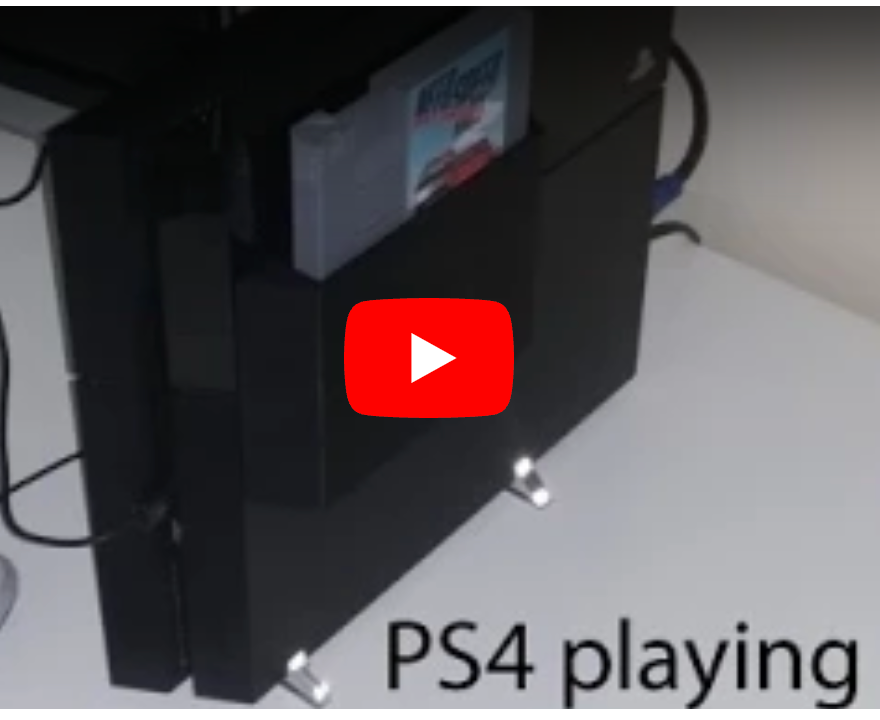
Update March 2015 This project won 2nd place in this Reddit contest about functional 3D printed projects. Thank you very much to ToyBuilder Labs for being the sponsor. Questions and Answers You want files? Click Here. I hosted the files on YouMagine, and I provided the STEP file format, which you should be able to open with most 3D modeling software. So if you want to change the design for 3.5″ drives, or chose another cartridge shape, you can! NOTE: the dimensions of the fake NES cartridge I used are not the same dimensions as genuine NES cartridges, so genuine cartridges will not fit in this project, and the fake cartridges will not fit inside a genuine NES deck.
Naked HDD Activity Indicator
Remember my Aquarium Computer? I thought the SSD looked boring, so I put a old-school HDD inside with all the guts exposed, and wired it electrically to spin and swing when there is hard drive activity (when the HDD activity LED blinks). But I have a deep dark secret… OK I’ll be honest, this is a “failed” project. I considered it a failure because I got lazy and used a MTD6501 chip to spin the platter, but it always spins for a little bit and just stops. I don’t know why, I don’t see the power dipping on o’scope traces. That chip is designed for driving things like cooling fans. Another reason why I think it’s a “failed” project is because IT IS ANNOYING AS HELL BECAUSE IT IS SO GOD DAMN FUCKING LOUD. Obviously it’s because my primitive circuit is simply using a MOSFET to shoot as much current through the coil as possible, thus smashing it from end to end. A better circuit would obviously use some form of current control, and obviously a real HDD circuit would control the coil with micrometer precision. But it was still fun. I leave it disconnected. Here is the rough circuit: Yes, I understand I can make huge improvements, but I did it with spare parts in one day. Remember to check the polarity of the read head voice coil first! On a side note, if you simply power up…
SD Card Bootloader by Backdoor Code Injection
For various reasons, I decided to try writing a SD card bootloader for my Ultimaker2. The project is open source and on my GitHub here. My goal was to install this new bootloader without having physical access to the circuitry. Thus I cannot use a ISP tool and must be done through the bootloader that is already present on the Ultimaker2. The only way to do this is to partition off a portion of application memory region for a secondary bootloader that executes after the original bootloader. But the ATmega2560 has a restriction that prevents anything in the application memory region from modifying the flash memory at all. Overcoming this restriction is what this hack is all about, continue reading if you are interested in learning more. Popular open source 3D printers use a circuit that is derived from the Arduino Mega which is based on the ATmega2560 microcontroller. The Arduino Mega 2560 edition uses an open source STK500v2 protocol bootloader. Typically, on AVR microcontrollers, you may only edit the bootloader using a ISP tool or debugger. The bootloader should not modify itself, because if a bootloader corrupts itself, the entire circuit will be bricked, as the bootloader won’t be able to recover itself if it is already corrupted. In this case, only a ISP tool can be used to restore it. Memory Layout of the ATmega2560 This represents the memory usage of the ATmega2560 Important to note: any code executed inside the application…
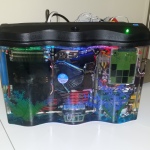 Aquarium Computer
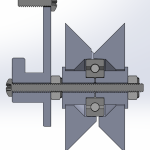 Ultimaker2 Bearing Spool and Bearing Guide Upgrade
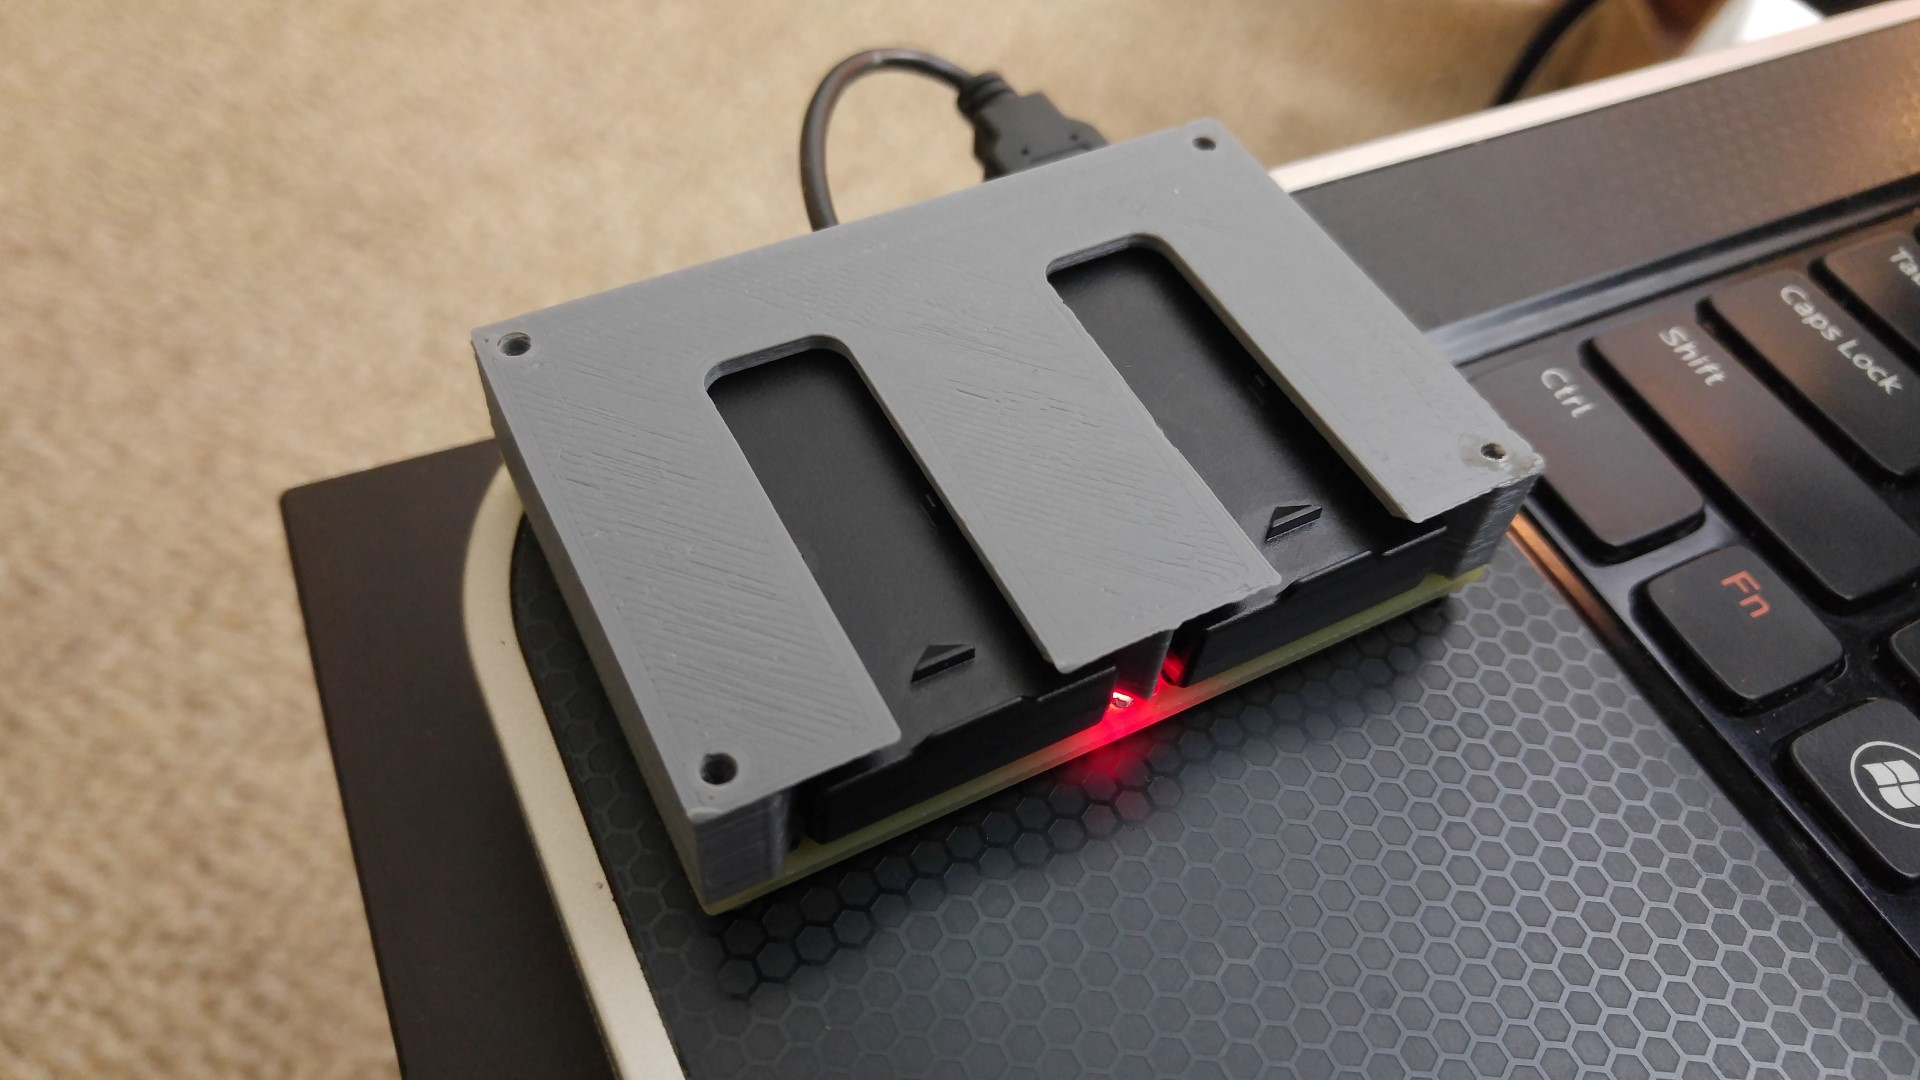 3D Printed Battery Recharge Dock for Parrot Rolling Spider
 Using a Laptop as a Monitor for a Headless Raspberry Pi
 Introduction to tinyAVR Microcontroller Attiny404 Architecture, Features, and Related Registers with a Simple Code Example
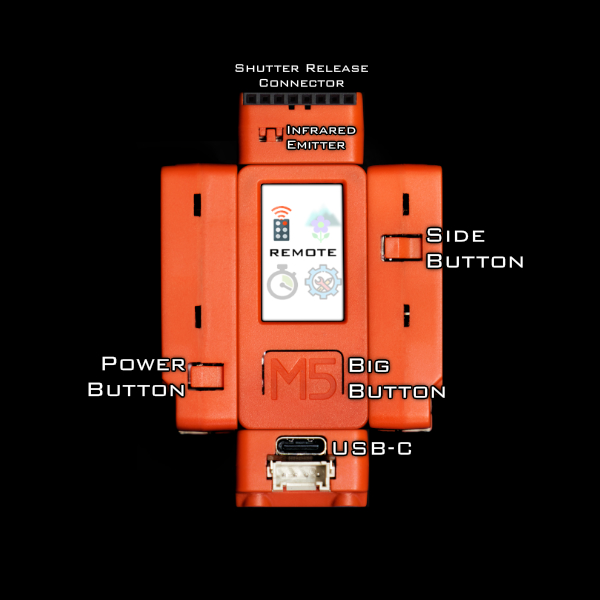 Wireless Camera Controller:Alpha-Fairy
 Toaster Oven Conversion: A DIY Reflow Soldering Solution
 VEX Pulse Position Modulation Wireless Signal Decoder