3D Printed Micro Match Connector Crimp Tool

  • Tool
  • April 6, 2016

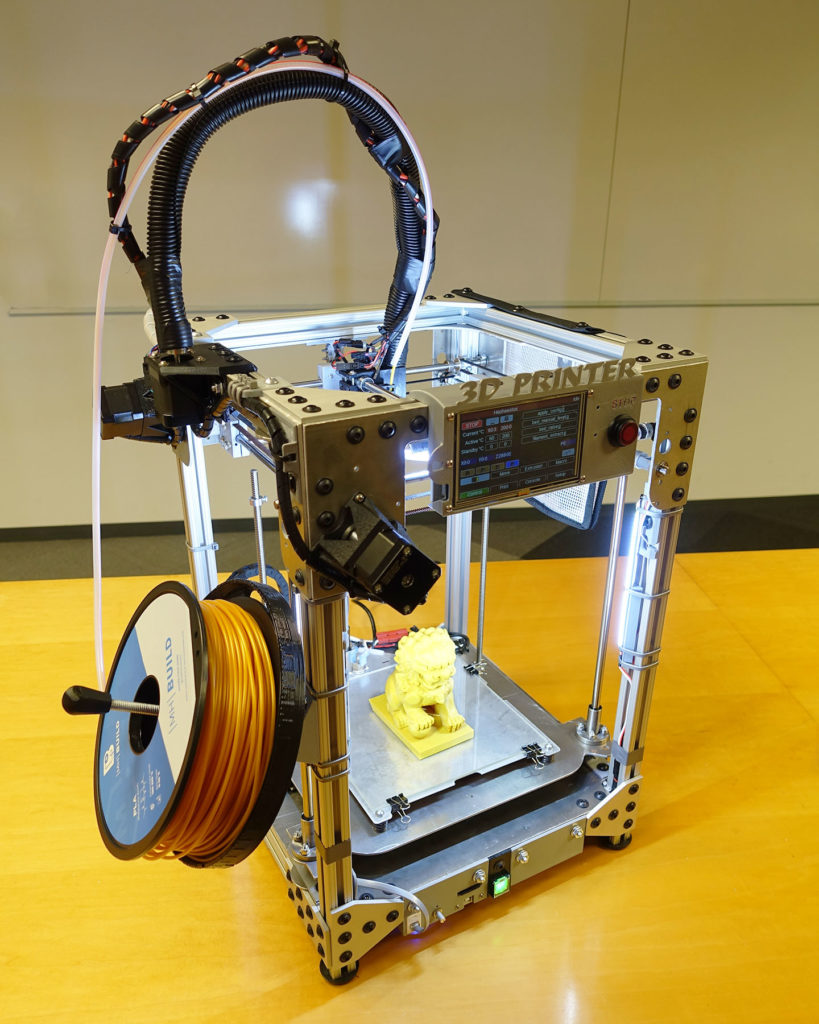
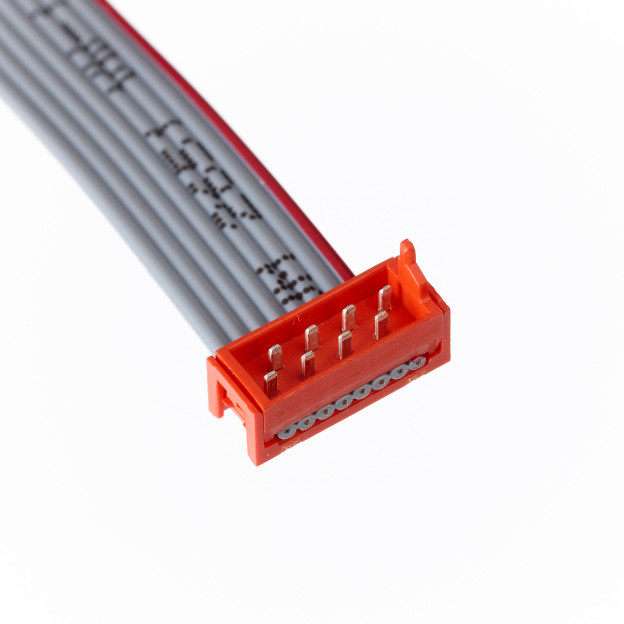
I have a project that involves Micro Match connectors. They are similar to IDC connectors, but with a lower profile and a zig-zag pattern.

8_way_Micro_match_IDC_male_on_wire_connector_assembly[1]

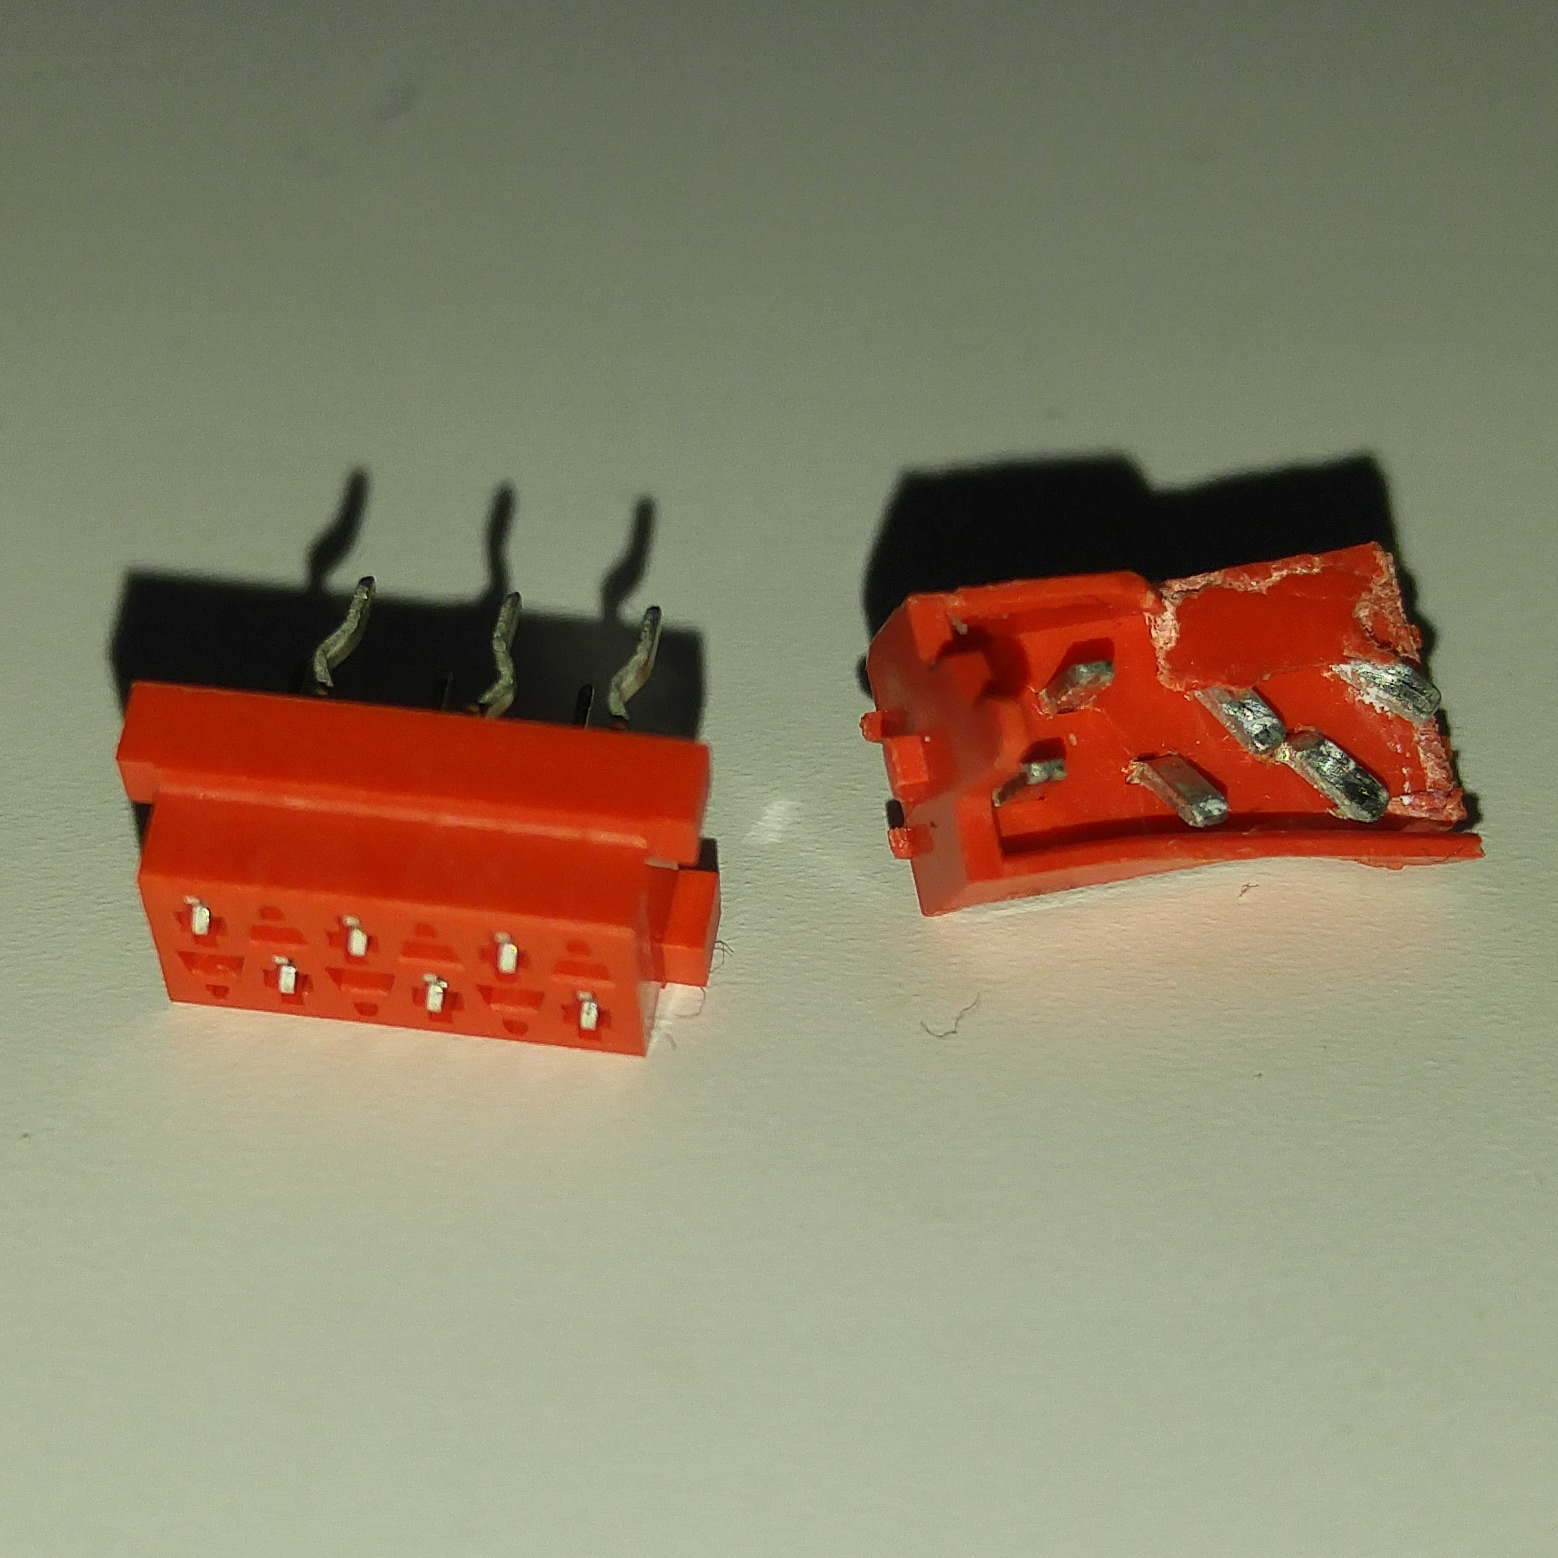
I had to crimp one connector onto a ribbon cable, my first attempt using a vice failed miserably, instead of the conductors being forced into the teeth properly, the forces instead crushed the connector. Unlike a IDC connector, which is mostly solid plastic, the Micro Match connectors are pretty hollow, thus weaker.

20151108_123433_norm

Continue reading to see how I solved this problem.

What I really needed was a tool like this, which costs $1200

propertool

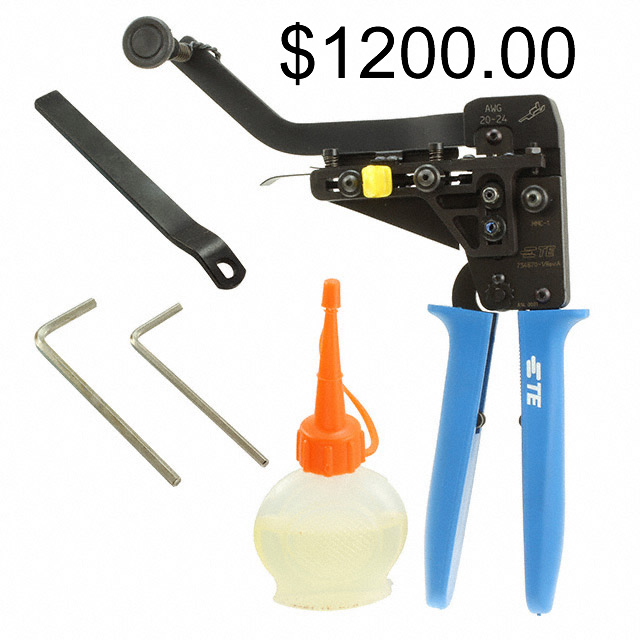
$1200 is out of the question, but a plain IDC crimp tool cost around $10

cimptool

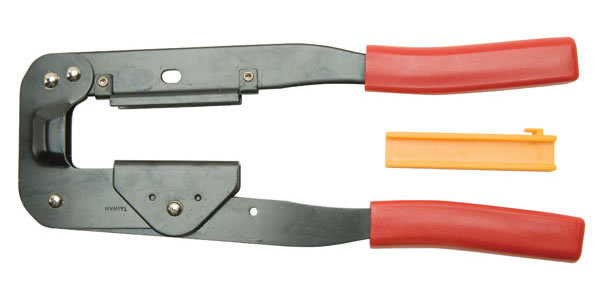
So I decided to 3D print a little aid to convert a cheap IDC crimp tool into a Micro Match crimp tool.

3dmodel
20151121_205603 (Large)
20151121_205624 (Large)
20151121_205858 (Large)

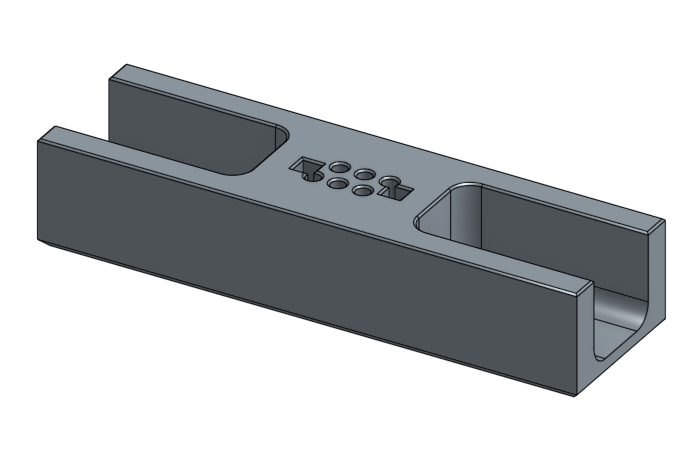
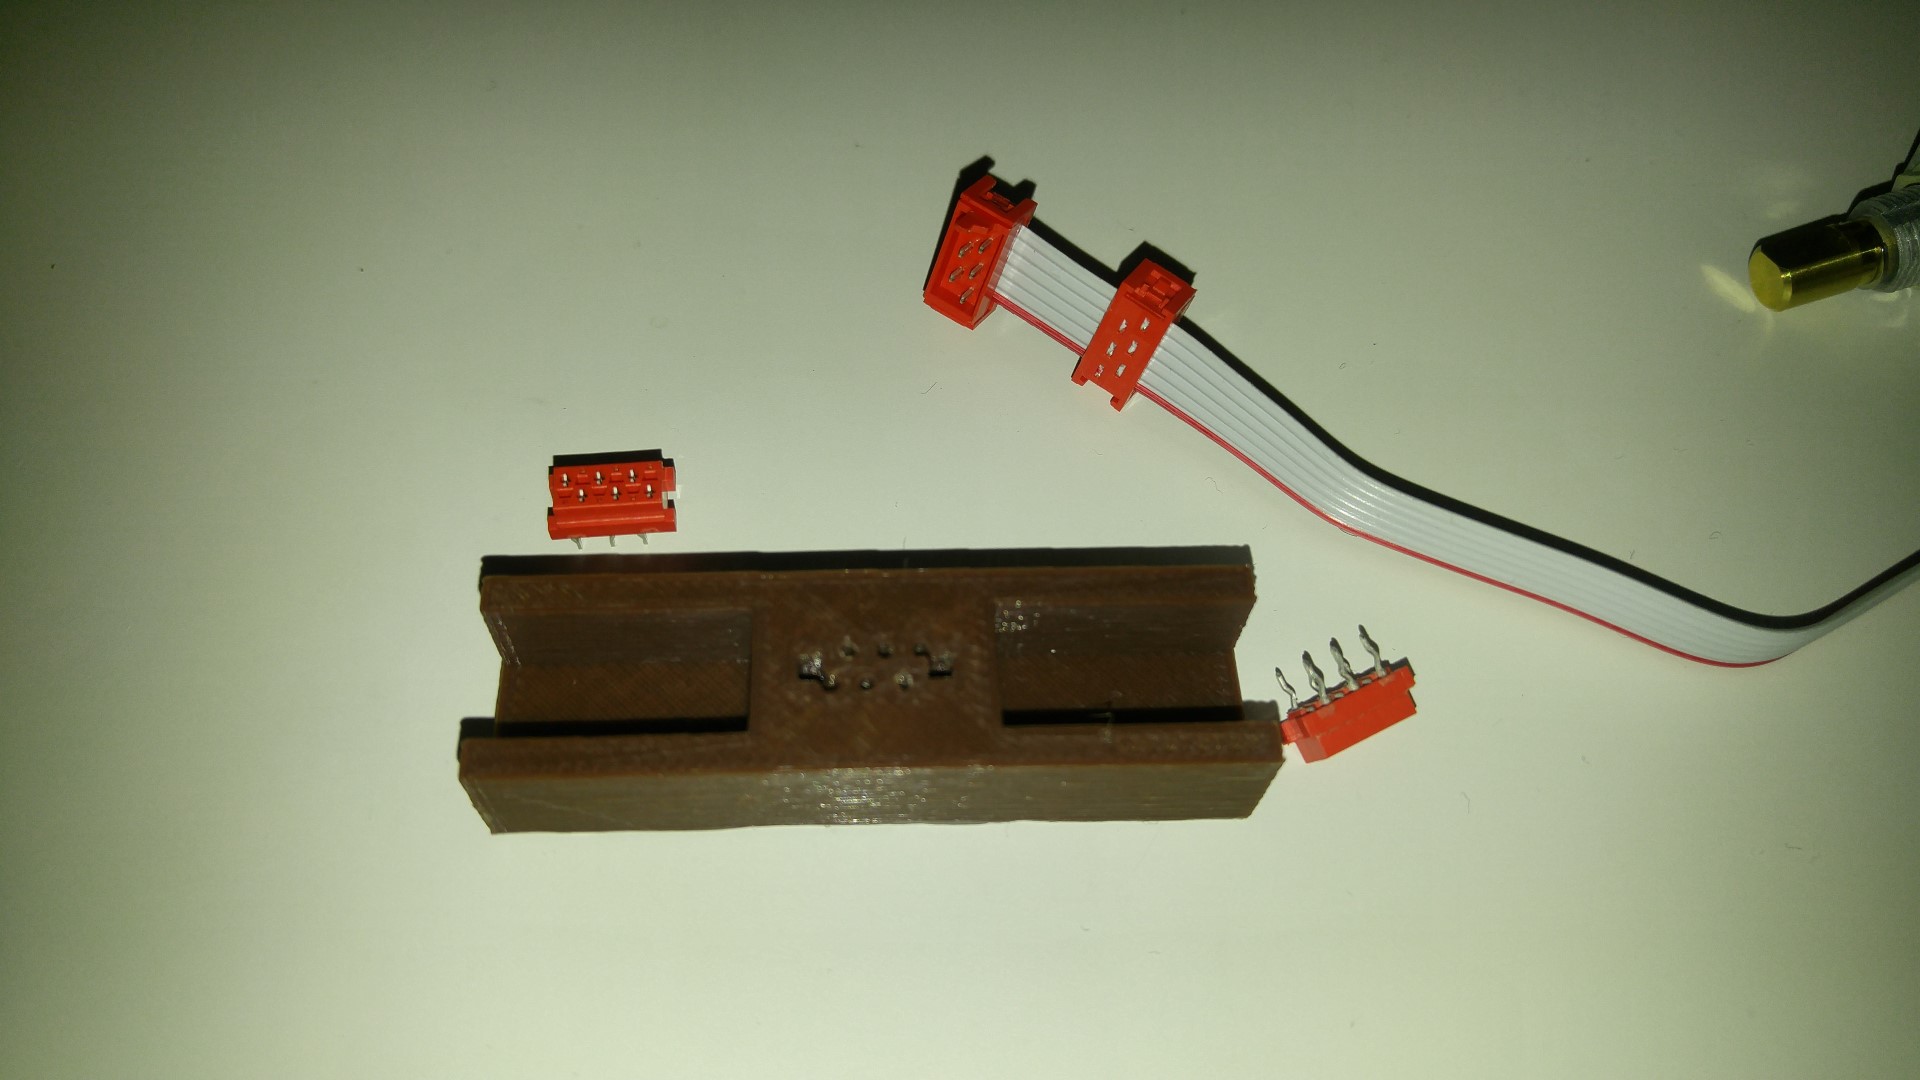
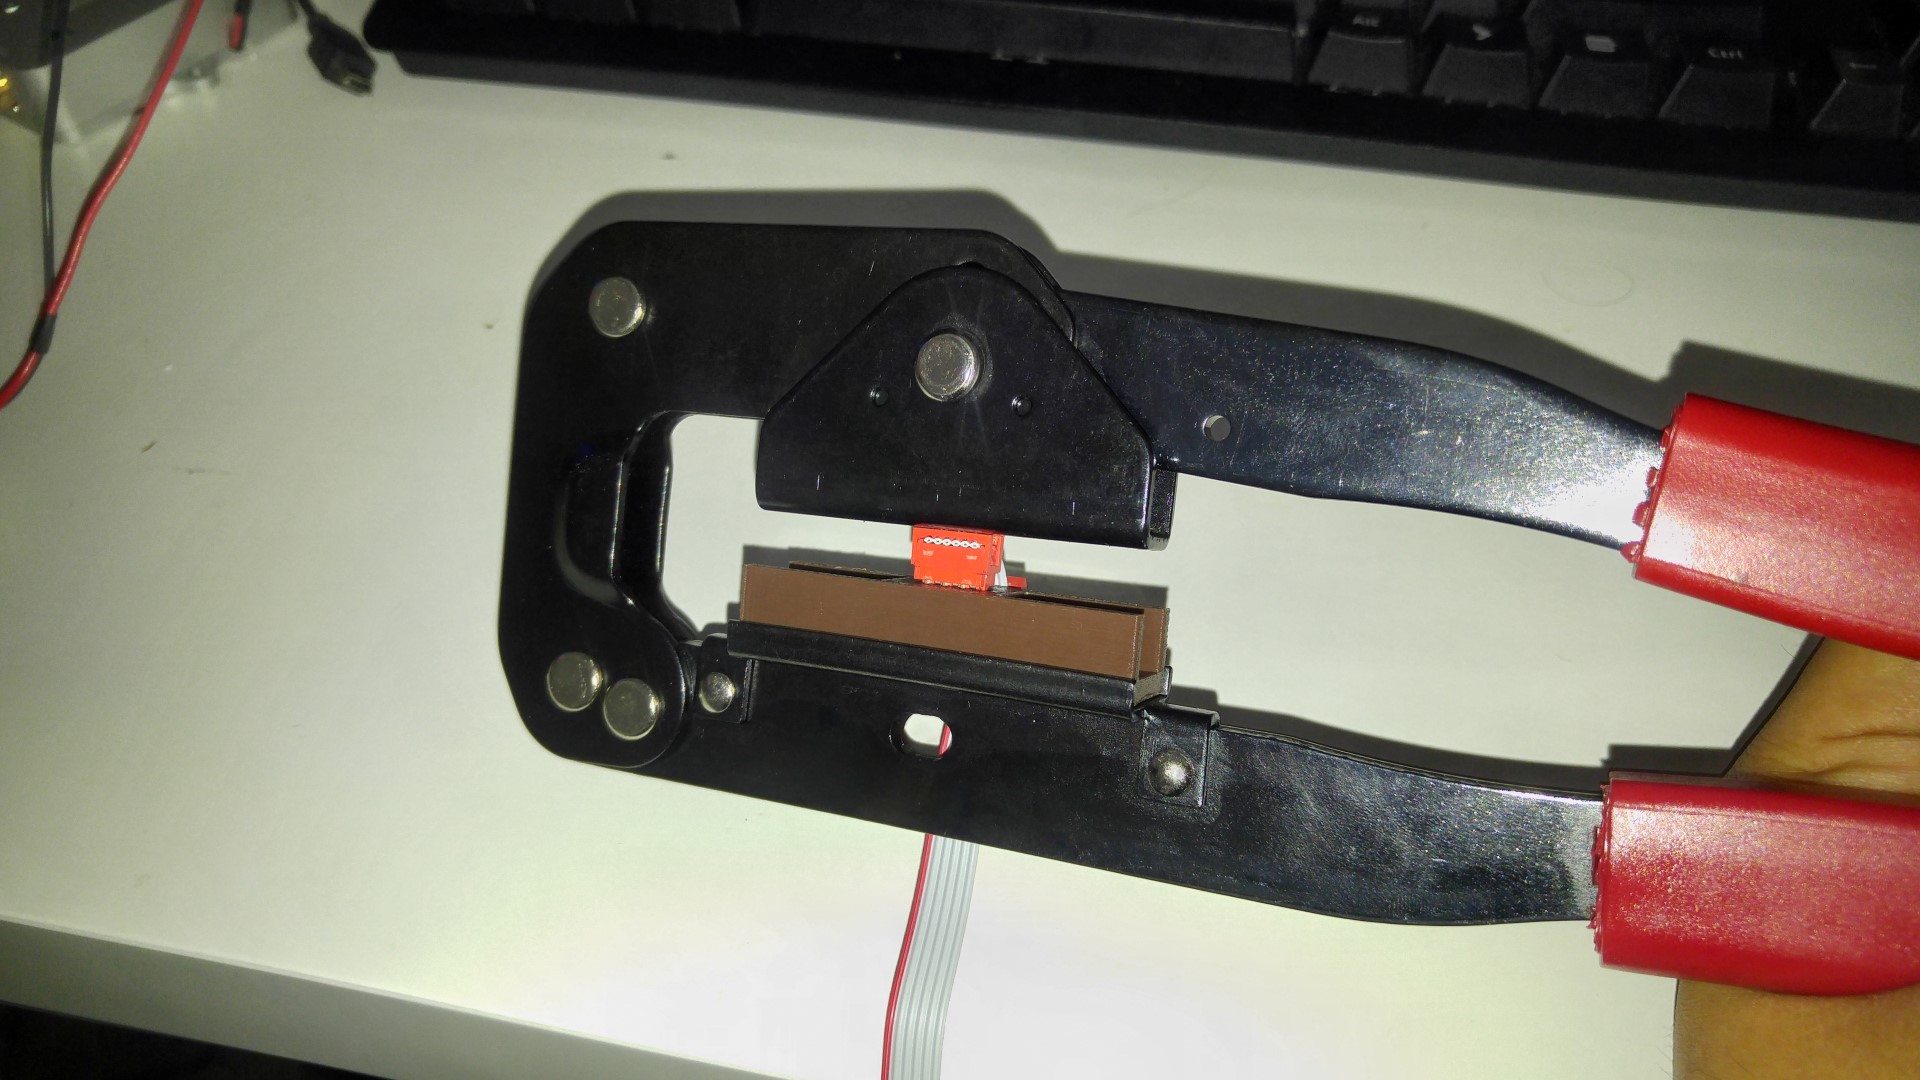
As you see, it needs to seat a female connector first to support the male end, this is why the male end doesn’t get crushed.

The model is hosted on Onshape here and shared with the public. It is currently in a 3×2 configuration, if you want a different pin configuration, simply make a copy of the model into your own account so you can make modifications to it. Trust me, it’s easy, the holes are created as patterns, so all you need to do is adjust the pattern.

Related Posts

my own 3D printer

I finally did it, I designed and built my own 3D printer. This is in no way “the best 3D printer”. Instead, this was an epic and nightmare project that exercised my ability to engineer and build my own CNC machine. Along the way, I figured out what I did well and what I did badly, mistakes were made and sometimes fixed, even ignored. This 3D printer is named Haphaestus. This wasn’t some kit that I purchased and put together, this wasn’t some tutorial I downloaded and followed. I designed almost everything about this printer and built it with tools I own and a waterjet cutting service. The only application specific parts I didn’t design are the Duet controller circuit and the E3D Titan parts. NOTE: This is not an open source project where I will let you download a few files so you can build one yourself, trust me… you don’t want to. It’ll be a logistical nightmare to just organize the files and BOM to the point where it is useful to anybody else. This page will be dedicated to recording my experiences and analysis of the first 3D printer I have ever designed and built all by myself. More pictures of prints near the bottom of this page! Features and Performance Theoretical Print Resolution I don’t have measurement tools that I can use to make real tolerance claims. I’m using mostly the same…

Related Articles

Accurate EV Power Consumption Measurement: Introducing the LeoINAGPS System

  • August 25, 2024

Upgrading an LC Meter Kit: A DIY Enhancement Project

  • August 25, 2024

Aquarium Computer

  • August 6, 2024
Aquarium Computer

Ultimaker2 Bearing Spool and Bearing Guide Upgrade

  • August 6, 2024
Ultimaker2 Bearing Spool and Bearing Guide Upgrade

3D Printed Battery Recharge Dock for Parrot Rolling Spider

  • August 6, 2024
3D Printed Battery Recharge Dock for Parrot Rolling Spider

Using a Laptop as a Monitor for a Headless Raspberry Pi

  • March 7, 2024
Using a Laptop as a Monitor for a Headless Raspberry Pi